Red Shears is an insight into Savannah Hall's journey into a career in luxury menswear tailoring. Currently a student & intern she lives in Bournemouth and interns in London.

Constructing A Waistcoat

I've been wanting to learn how to make a waistcoat for a while now, Ivor needed some new patterns for a client so it seemed like the perfect opportunity to learn and create a bespoke waistcoat for Ivor his client and myself. I started the process by doing a very basic rough sketch of the type of waistcoat I was going to make (shown in the image below). 


I decided that the waistcoat would look, feel and sit better with two darts in the back and two in the front, but it is also a style choice, each waistcoat varies and there are no set rules. 


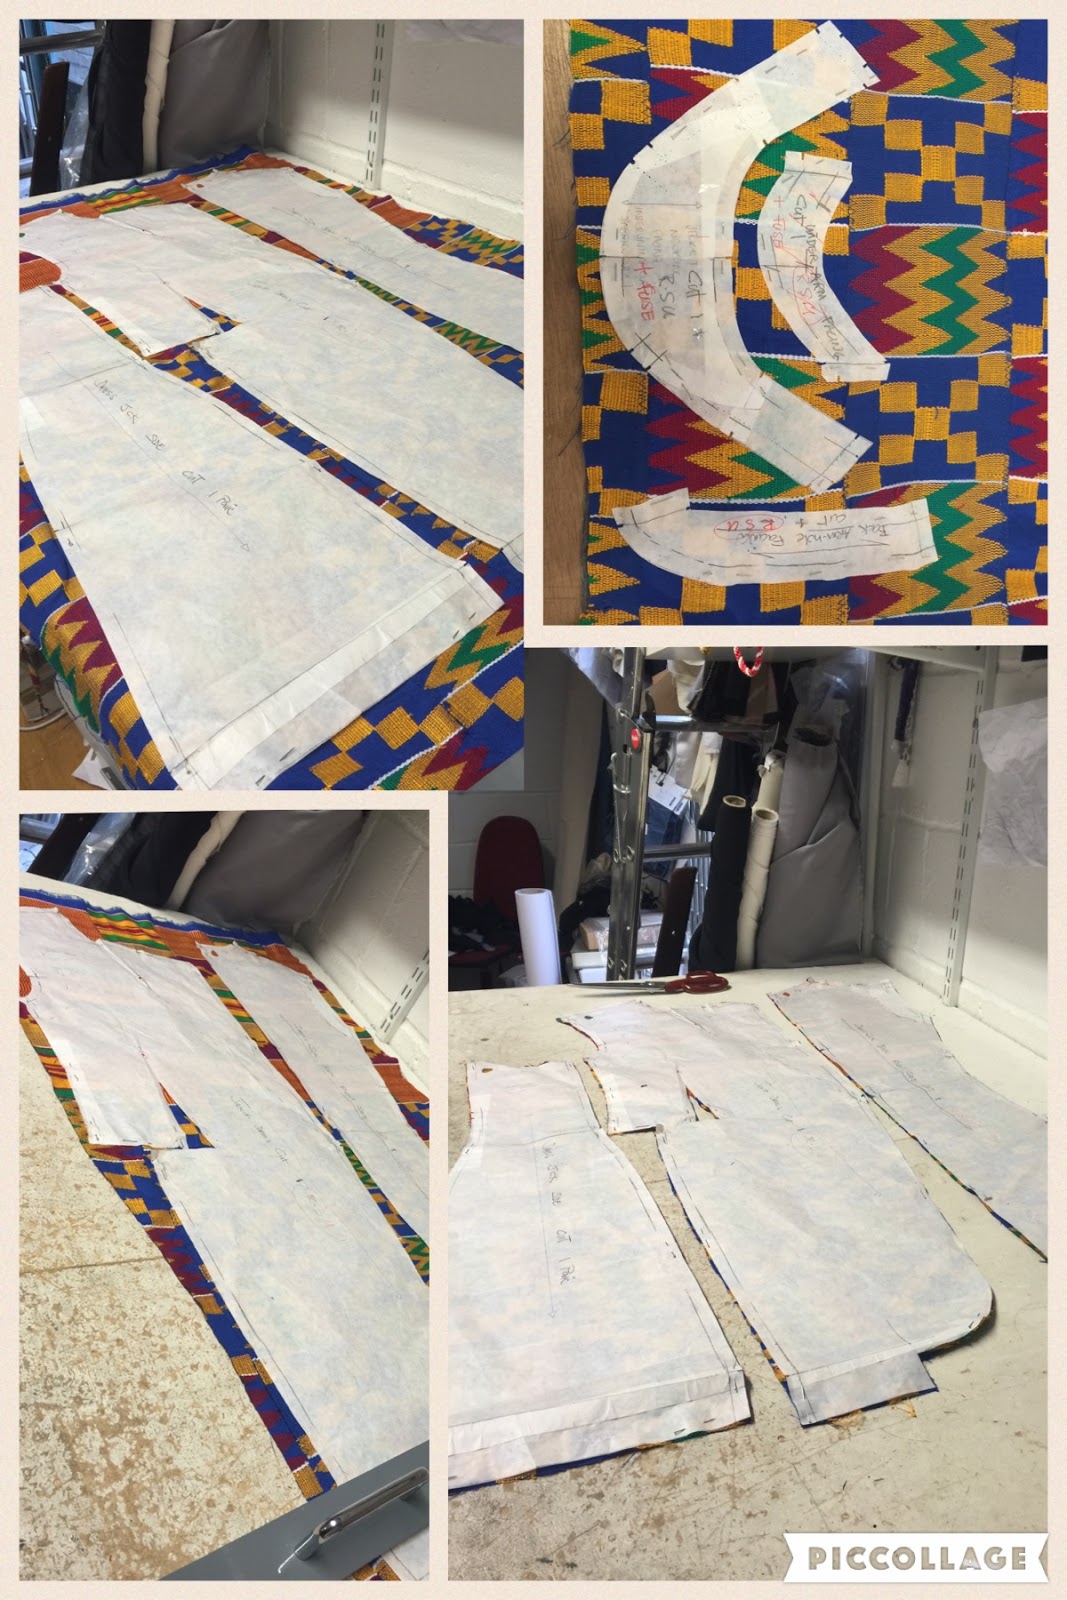
I've been working on creating a bespoke double breasted waistcoat, but seeing as i'm no professional I'm still creating patterns using the measurements I have taken. I have added a few extra centimetres on the side and shoulder seams so that I have extra room just incase I need to take the waistcoat in slightly. Since it's a double breasted waistcoat I am adding quite a large facing to it, I have also decided to add jetted pockets to the front with a dart going through the pockets right to the centre of the waistcoat. The darts at the front and back give shape and allow the waistcoat to sit nicely on the body. I will be making a fully canvased waistcoat as this will last for years to come and they tend to age a lot better than a half canvased or interfaced garment. The canvas will mimic the front waistcoat patterns and will be fairly stiff and hopefully made out of horse hair to give more of a structured affect. 


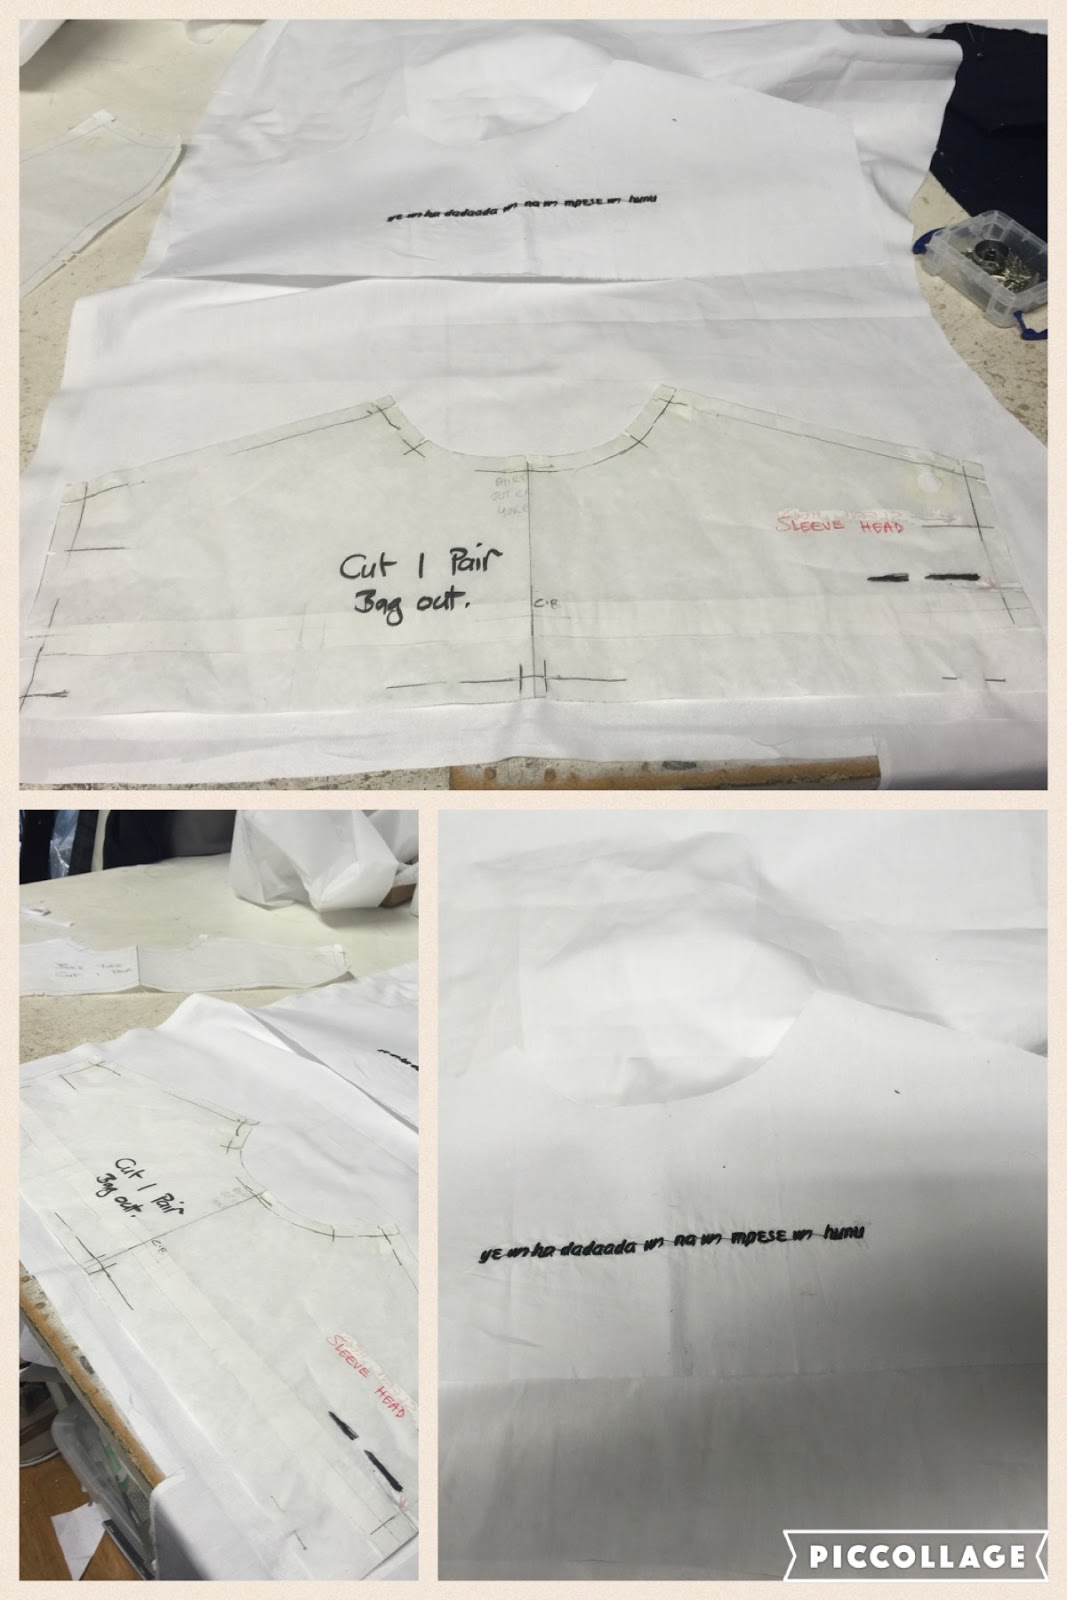
Once I felt happy with my patterns I decided to toile them using calico for the exterior and micro satin for the interior lining. I started off by cutting the fabric for the lining and facings and then stitching them together using a machine. The lining will be attached to the front of the waistcoat by hand instead of a machine, this gives it more of a luxury personal bespoke feel and I could have intact stitched all of it by hand but I felt that as I am still learning I will start off by using the machine. I have made sure to press all the darts towards the back and instead of pressing the seams open I have just let them sit in the direction they fall naturally so that when the garment is being worn you don't get any bulking or twisting from the seams allowing the waistcoat to sit and move naturally. 
 
Finished Waistcoat Lining
 

Once I had finished the lining I moved onto cutting out the front of the waistcoat, I marked on the darts and the jets using a pale chalk so not to get the fabric too dirty. I then proceeded to stitch the darts making sure to press them nicely at all times.


Half way through making the waistcoat Ivor and I started talking about what fabrics to use and I realised that I didn't really no much about fabrics. I wasn't really sure which fabrics would be best and which fabrics would go with each of the different types of canvases. Ivor said that all of this was personal and all depends on how structured you want the waistcoat, this confused me even more because how structured did I want the waistcoat? and how did I know if this would look good or work with the look I had in my head? 
 
After confusing myself and being uncertain with where I wanted to go next with the waistcoat I started to look through some of Ivor's books and samples to see if this helped to clarify things for me slightly. Reading through the books and looking at the samples was actually very helpful because it made me realise that wool would be a very good choice for a waistcoat especially a double breasted waistcoat. I decided that tweed would be the best choice as it is nice and traditional and as a material has lots of good properties to it for example; it is very warm and resilient, and is very versatile and doesn't have to be used for just winter garments so I think this is a good place to start as far as fabrics are concerned. 

Through looking at the samples and comparing the different thicknesses of fabrics to the different canvases it gave me a better idea of what I was looking for. I decided that as I like tweed and want to use this as my main fabric using a thicker canvas might give a nicer shape and make the waistcoat stand out and look quite structured and elegant. 

And now the hunt begins for the perfect fabric. 
 

Sourcing zips


Today I went to London trimmings in Whitechapel to source some zips for a client. As I have never been before, Ivor suggested it would be a good experience for me to go and see what the shop is like and what they had to offer. Going to London trimmings was interesting, very different to the usual shops I go into for trimmings as it was quite chaotic and overwhelming. The corridors are very small and narrow with shelves going up to the ceilings, it's very easy to get disorientated amongst all the Zips and trimmings but once I asked for help I got into it and really enjoed the experience. I learnt a very valuable lesson witch is not to judge a book by it's cover! This place is full of hidden treasures and one I will remember for my future projects.


While shopping in London trimmings I was after some very specific zips (shown in the above images) I was specifically told to get a 30 cm zip and a 63 cm zip which proved extremely difficult to find as you really have to rummage to find what you need, you also have to spend a lot of time in the shop to find exactly what you want because there is so much to see. 
 
 
I have started working on a waistcoat and we were running low on buckles so decided that as I would already be going to London trimmings I should pick up a few box' of buckles so we don't run out, as well as buckles I thought I should buy a new thimble, one that fits me better and would be more comfortable for me to sew with. I found the experience of going to London trimmings to be quite exciting, they seem to supply just about everything and if you can't find it all you have to do is ask and they are more than happy to show you where everything is. The people in the shop are very helpful and tell you where you can buy certain items and will even order specific things in for you. I think I'd definitely go and source trimmings from them in future because as well as being helpful they are also extremely cheap and take student discount which is always a bonus. Being free to go to London trimmings has given me more confidence in finding these places by myself and also in not being afraid to ask for help especially because in some fabric/trimming stores they can be quite short with you which can be quite intimidating.  

Pattern Cutting & Sampling

This week I have been working on creating some jacket patterns for a client. The patterns were for a womens jacket that included a lot of details such as storm patches, yokes, jetted pockets, zips, buttons and even lights. The style of the jacket was very futuristic and modern yet very simple which meant that the patterns and finishing's will be all the more important as they will be very visible to the wearer. The pressure was definitely on this week as accuracy is definitely key to perfecting this style of jacket. 

I started the jacket patterns early on in the week, the images above shows some of the stages in creating the patterns. I decided the jacket should have quite a small facing due to the style of the jacket. The client wanted a jetted pocket inside so I thought it would be best to add this into the facing as the final jacket material is very stiff I felt adding the pocket into the facing would retain the jackets style and would be a nice design feature when the jacket is opened. 
Once I was confident I had got the patterns as accurate as possible I started to create a basic toile of the jacket only featuring the main big details that help create the shape and fit. I left out smaller details such as the jetted pockets as I have practised and worked on jetted pockets enough times now to know that I am confident in my ability to make them and to know that they will work in most jacket styles I come across. 
The jacket style was quite sharp and futuristic so creating a nice shape and point on the storm patches was very important, I mitred the corners of the patches to create quite a sharp flat point that sits well on the body. I also pressed the calico extremely well to make sure I created a nice defined curve that mirrored on each side.  

I am aware that early on in this placement I had done a huge amount of sampling for myself and Ivor spent a lot of his time teaching me the ways of traditional tailoring. This was all good practice and it has taught me so much as well as giving me the confidence to be able to take on projects for his clients such as the above jacket. I also feel it is extremely good of Ivor to trust me with the entire making process of this jacket. I am enjoying my time here and I feel I have learnt so much I think I am extremely lucky to find a placement where the owner/manager of the company is willing to teach me anything I want to learn and really wants me to do well. I am very grateful for everything I have learnt and really feel that working at Nylander Couture will be extremely beneficial to helping me get into tailoring. 

Cutting...

 
This week I was not only working on constructing a tie but I also helped Ivor's machinist cut the fabric for a garment he is working on for a clients final university collection. The images below show me laying out some of the pattern pieces and pinning them in preparation to cut the fabric. 
 
 
The image above shows me cutting out shirt pieces, the pieces go with an unusual style jacket that is both a dress and blazer. As well as cutting the shirt and jacket pieces I also interfaced and notched all the relevant pieces to insure that they were all ready to be sewn together. 
 
 
The patterned fabric shown in the images above was in actual fact very tough to cut, it felt like certain types of rugs as it was very stiff and strong. I really enjoyed cutting the final fabric and I was really happy that Ivor trusted me with cutting the fabric as it is a very important job that you can't really afford to get wrong. I was especially happy to be told by Ivor's machinist that I was one of the best cutters he has worked with for along time due to my precision and accuracy. This was really nice to hear and gave me a slight boost. 
 
 
Once I had cut the fabric for the shirt and the jacket I moved on to cutting the lining, which was very fine and slippery. So to help me cut the fabric I placed newspaper underneath the fabric, I pinned the edge of the fabric to the newspaper keeping it as straight as possible (so that the fabric will always bee cut on the straight grain). 
 
 
Once I had done this I continued by pining each pattern piece to the fabric and the newspaper keeping the pieces secure and making sure they don't move at all. As soon as I'd pinned the fabric I carefully cut out each piece. Being sure to be as accurate as possible I cut through the material and the newspaper at the same time to insure that the fabric did not slide or stretch at all. Cutting the lining of the fabric was definitely the most nerve-racking part of the process for me due to the fact I know it moves a lot when you work with it. 
 
 
The image above shows the final jacket, it is not quite finished at this point but it's very nearly there. I am very excited that I got to help with this jacket because I've been able to see the whole process and by just being able to cut the fabric I've become more accurate as I'm constantly aware that the pieces are for a paying client, which makes me want to be even more careful and precise. This week I have not only learnt how important it is to be as careful and accurate as you can when cutting, but I've also started to speed up with the pattern cutting and the final cutting of the fabric which is good as when I go back to uni I will not only be more skilled and knowledgeable but I'll also be quicker which is a big bonus, especially when working under strong time constraints. 
 
Helping with this garment has made me reflect on my University journey and all I have learnt and where I am heading. I think this year I have found so much about myself. Starting with my first assignment finding out about my influences and what made me the designer I am. I am looking forward to merging all my learning into my final project and going all out, showing my vision and who I am through my desings. I feel like I am finding my voice and the road that I want to embark in my future in fashion. Scary! But very exiting!.

Making A Tie

So this week I came into the studio and Ivor asked me what I want to learn next, I thought about it for a while and decided that for a long time I have wondered how to make a tie, so I thought this should be my next venture. I started off by creating the patterns for the tie but as I just wanted to do a sample I made each pattern piece half the size. 


The patterns were relatively simple to construct as there are actually not many pieces to a tie, as you may be able to see from the images above. Once I had basted in the interlining (I used calico just for the sample) I was then able to fold the tie into the centre. (Shown in the images below.)  


I hand stitched the tie together, the stitches a very visible and I should have used an invisible stitch instead so that the finishing of the tie would look neater and you wouldn't see any dodgy hand stitching, this is something I will have to remember for next time. The sample I made in the images above was good as it gave me an idea of a very basic way of constructing a tie however I have made many mistakes in this sample, one of which is that the tie is far too pointed and I would prefer to leave 1 cm between the outer material and the lining (like in the image below) just as it is more ascetically pleasing although you can technically do it anyway you prefer but traditionally the lining doesn't go all the way to the point. 


After making a small tie sample I decided that I wanted to make a proper tie toile, that way I can get more practice hand stitching the tie closed and creating a nice defined point. To create the tie pattern I took apart one of my dads old ties (shown in the image above,) I used the scraps of the patterns to trace off and adapt new tie patterns for myself. Unpicking the old tie was good because it meant that I got to see the way it was put together and what I'd been doing wrong. 


I saw how the old tie had been mitred to create the cm seam around the lining, which was good because I got to see the proper way of creating a nice defined point. Once I had created all my patterns I started to cut the interlining of the tie using a thin wool material,  I then cut out the rest of the materials using calico for the main part of the tie and a micro satin for the lining. I stitched all the calico pieces together I created the tie point by pinching the corner together and sewing across in a diagonal line. I then basted the interlining onto the calico shown in the pictures below.
 

Once I had basted the interlining into place I pressed the edges of the tie in by a cm and then repeated the process on each side. Next I folded the tie into the centre and bar tacked the tie into place 3 cm up from where each side met. I finished the tie by doing an invisible stitch along the fold line securing everything into place. I really enjoyed making the tie and it actually turned out much easier than I had originally thought, I think I could improve my invisible stitching quite a lot as I find it very fiddly. From this sample I have learnt that creating a tie is quite simple but creating a good quality tie that lasts a long time with neat and even stitching is a much harder task and takes a lot of time and patience. 


I decided that I needed more practice creating a more defined and neat point for the tie as it is the most crucial element of creating a nice, neat, finished look. In the sample above I had been trying to practice how to miter the tie corner which actually proved more difficult than I thought as it is very fiddly to pin and sew on the machine. I managed to successfully attempt the metered edge and the image above shows a nice defined cm edge which clearly defines where the outer fabric ends and the lining starts. I think the sample is a good attempt and now I know how to miter the edge correctly I think my next attempt will turn out a lot better. To improve on the sample I think I need to spend more time pressing, folding and sewing the point more accurately so that there are no ripples in the fabric and it all sits nice and flat. I'm thinking of making a few ties and start an epsy shop so I can raise some funs for my final year in Uni, wish me luck!.


Tailored Jacket Front


This week has been quite an exciting week for me as I've been making the front of a mini tailored jacket. The front of a bespoke tailored jacket is the hardest part as it involves using canvasing, domette which is a type of interlining and a huge amount of basting. Completing the front of the jacket has been a really enjoyable task as I've been able to see the improvements I have made through my stitching and my general knowledge of what fabrics are included in the process and what  fabrics should and should not be used during the process.    


I started off the process by making mini patterns as it is just a sample I will be making the jacket smaller (child size). The images above show some of the patterns I made, the left image is my master pattern, you can see all the different shapes and pattern components that I will be needing from this piece. I started putting together the front and side of the jacket first which was easy enough to do by machine. I then cut a piece of domette and canvas taking the shape of the entire top arm whole and chest area of the jacket. The domette/canvas stops just before the collar breaks, you're supposed to baste the domette and the canvas onto a bigger piece of canvas that takes the shape of the entire jacket front. However by mistake I basted the domette and the canvas on its own (shown in the image below) this meant I had to unpick all the stitching which took me an entire day to do and start again. 


This was annoying but it meant that I could practice my chevron stitch some more, and in actual fact I actually finished basting the domette onto the canvas a lot quicker a neater the second time around, which just goes to show that I am already learning and making improvements. The image below shows mine and Ivor's samples, I do feel as if mine is a very good first attempt and not too far off what its supposed to look like. 


Once I finished basting the domette onto the canvas I cut two slits, one in the arm whole and one at the bottom near the centre of the domette. These slits were to be overlapped on top of each other and  machine stitched together keeping it in place. Once I had machine stitched the slits together (almost like a dart) I cut triangle like shapes using lining fabric and hand stitched them into place on top of the darts to make sure they were fully secure. The two darts create a curved shape to the jacket front which is designed to fit against the body better and helps to give the suit more of a structured look and feel. 
 

Once the darts were done I could focus on the collar lapel. For the collar I cut a small rectangular piece of canvas and basted it onto fabric leaving a small gap between the domette and the collar, this small gap is for the bridal which is a thin strip of lining fabric that is basted into place between the canvas collar and the domette. The purpose of the bridal is to help give a sharper more refined edge to the break line of the collar.


Once I completed the finishing touches to the collar I was then able to start attaching the facing to the jacket however before doing this I cut a long thin strip of canvas (about 2 cm wide)  and stitched it to the larger part of the canvas and then sandwiched the strip of canvas between the facing and machine stitched it into place. The strip of canvas allows movement to the jacket and it also reduce bulk between all the layers of the fabric hence why the facing is attached to the strip of canvas and not to all the other bulkier pieces of canvas, bridal and domette. After attaching the facing I pressed the collar into place and the sample was complete.

Creating this mini jacket has been a lot of fun because it has made me feel like I am or could be a proper tailor as I've been following the correct steps and doing things properly. A big part of creating the jacket has been hand stitching which for this you need a lot of patience. Hand stitching is definitely what I enjoyed most because it feels like more of an achievement when you have finished and the finished item feels more personal and surprisingly strong and durable.

Cash Pocket & Recaps

 
I have achieved a lot since working for Ivor Nylander and I'd like to think I have made lots of improvements since my trial day. I thought I would try and redo the front waist coat sample that I was tasked with on my trial day. The images above show some of the stages in recreating the sample, personally I feel the pockets are a lot neater then the first ones, I also think the jets are definitely more even then the very first ones I did I have thoroughly enjoyed redoing these jets because even Ivor said they were a lot neater and that my hand sewing has got much better, this feels good and gives me lots of confidence to think that maybe in a few more months or by the time I go back to uni I will have drastically improved. 
 
So far I have constructed a welt pocket and a jetted pocket so Ivor and I both agreed it was now time to construct a welt pocket with a flap... not very exciting but this pocket will be slightly different as I have incorporated a Cash pocket into the sample. 
 
A change (or ticket pocket) is a third, extra smaller pocket on a jacket. It is located higher up on the right hand side of a jacket and is roughly half as wide as your average pocket. The pocket usually follows the angle and style of the pocket below it. It is aligned with the front edge of the pocket directly below.
 
 
The image above shows a jetted pocket with a flap, this is one of Ivor's samples, this is what I have been working towards. I first started of constructing the patterns which for the most part are just like normal jetted pocket pattern pieces. I started off making the pocket as I would an ordinary jetted pocket, the flap seemed the easiest part to start with.        
 
I started off by basting the flap lining to the outer fabric of the pocket flap to hold it in place.
 
 
I then machine sewed the edges at 0.5 cm (again to reduce the bulk) and bagged it out. 
 
 
I pricked stitched the edges which I feel could have been smaller and straighter. 
 
 
I marked on the pocket information then basted the lining onto the main fabric on the wrong side of the fabric. Once I had done this I placed the jets onto the right side of fabric (right side to right side). 
 
 
Once I had cut the jets and pulled them through to the wrong side of the fabric I inserted the pocket flap and basted it into place using black silk thread. After this I just had to add the pocket bags and the change pocket bag which was actually the easy part. 
 
 
The pocket flap was slightly too big as for the jets so I will have to adjust that at a later date,however considering the fabric I was using was quite thick and it slightly stretch I think the pocket turned out well, the jets themselves were actually very neat, and once the pocket flap is adjusted i'm sure the overall pocket will look a lot tidier. The change pocket turned out to be a nice touch and was very easy to add, the most difficult part was getting the jets and the flap to sit well especially with the fabric I used. I have learnt that my knowledge in the right fabrics is lacking slightly and I definitely need to learn more about what fabrics are best to use especially when using canvas. I am really looking forward to incorporating all my new knowledge into my designs. I have already some ideas for my final desings and I'm feeling very exited. I am learning about where to source my fabrics, trimmings etc. With more exploration and practice I think I can come up with something interesting and exiting. I am also learning a lot about customer service and even about financial matters in tailoring. I have thought about all the paper work involved in the business and the importance of having contracts to protect myself and the customer in case of any disputes or disagreements. There is so much to learn!. 


© Red Shears

This site uses cookies from Google to deliver its services - Click here for information.

Professional Blog Designs by pipdig