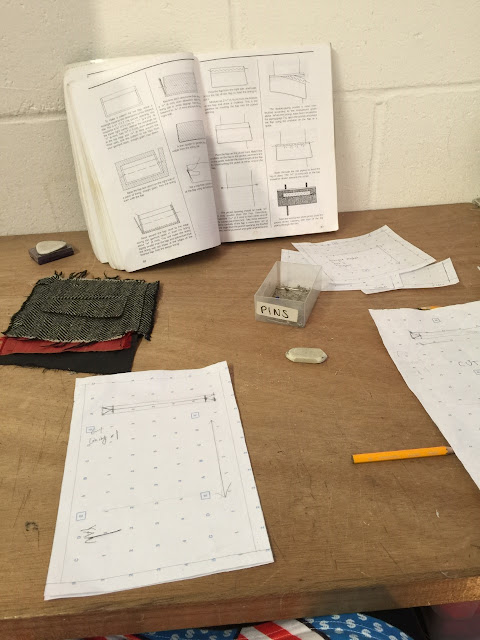
I have achieved a lot since working for Ivor Nylander and I'd like to think I have made lots of improvements since my trial day. I thought I would try and redo the front waist coat sample that I was tasked with on my trial day. The images above show some of the stages in recreating the sample, personally I feel the pockets are a lot neater then the first ones, I also think the jets are definitely more even then the very first ones I did I have thoroughly enjoyed redoing these jets because even Ivor said they were a lot neater and that my hand sewing has got much better, this feels good and gives me lots of confidence to think that maybe in a few more months or by the time I go back to uni I will have drastically improved.
So far I have constructed a welt pocket and a jetted pocket so Ivor and I both agreed it was now time to construct a welt pocket with a flap... not very exciting but this pocket will be slightly different as I have incorporated a Cash pocket into the sample.
A change (or ticket pocket) is a third, extra smaller pocket on a jacket. It is located higher up on the right hand side of a jacket and is roughly half as wide as your average pocket. The pocket usually follows the angle and style of the pocket below it. It is aligned with the front edge of the pocket directly below.
The image above shows a jetted pocket with a flap, this is one of Ivor's samples, this is what I have been working towards. I first started of constructing the patterns which for the most part are just like normal jetted pocket pattern pieces. I started off making the pocket as I would an ordinary jetted pocket, the flap seemed the easiest part to start with.
I started off by basting the flap lining to the outer fabric of the pocket flap to hold it in place.
I then machine sewed the edges at 0.5 cm (again to reduce the bulk) and bagged it out.
I pricked stitched the edges which I feel could have been smaller and straighter.
I marked on the pocket information then basted the lining onto the main fabric on the wrong side of the fabric. Once I had done this I placed the jets onto the right side of fabric (right side to right side).
Once I had cut the jets and pulled them through to the wrong side of the fabric I inserted the pocket flap and basted it into place using black silk thread. After this I just had to add the pocket bags and the change pocket bag which was actually the easy part.
The pocket flap was slightly too big as for the jets so I will have to adjust that at a later date,however considering the fabric I was using was quite thick and it slightly stretch I think the pocket turned out well, the jets themselves were actually very neat, and once the pocket flap is adjusted i'm sure the overall pocket will look a lot tidier. The change pocket turned out to be a nice touch and was very easy to add, the most difficult part was getting the jets and the flap to sit well especially with the fabric I used. I have learnt that my knowledge in the right fabrics is lacking slightly and I definitely need to learn more about what fabrics are best to use especially when using canvas. I am really looking forward to incorporating all my new knowledge into my designs. I have already some ideas for my final desings and I'm feeling very exited. I am learning about where to source my fabrics, trimmings etc. With more exploration and practice I think I can come up with something interesting and exiting. I am also learning a lot about customer service and even about financial matters in tailoring. I have thought about all the paper work involved in the business and the importance of having contracts to protect myself and the customer in case of any disputes or disagreements. There is so much to learn!.


No comments
Post a Comment